If you are running docker containers in Raspberry pi like me, you might have experienced that many of the images available in the docker public hub will not run on the Raspberry Pi. So you will be creating the images again from the Dockerfile. Also there will be extra process to move images between different Pi if you run many environment with Raspberry Pi for development, testing and production. That is when I have started to think to organize all my images and here I am to explain the steps I followed to setup my private docker registry.
It will only takes some minutes and will save more time in the future. Also you can easily keep your images safe by doing backup of the images data directly. Also if you are concerned of internet bandwidth this will come in handy.
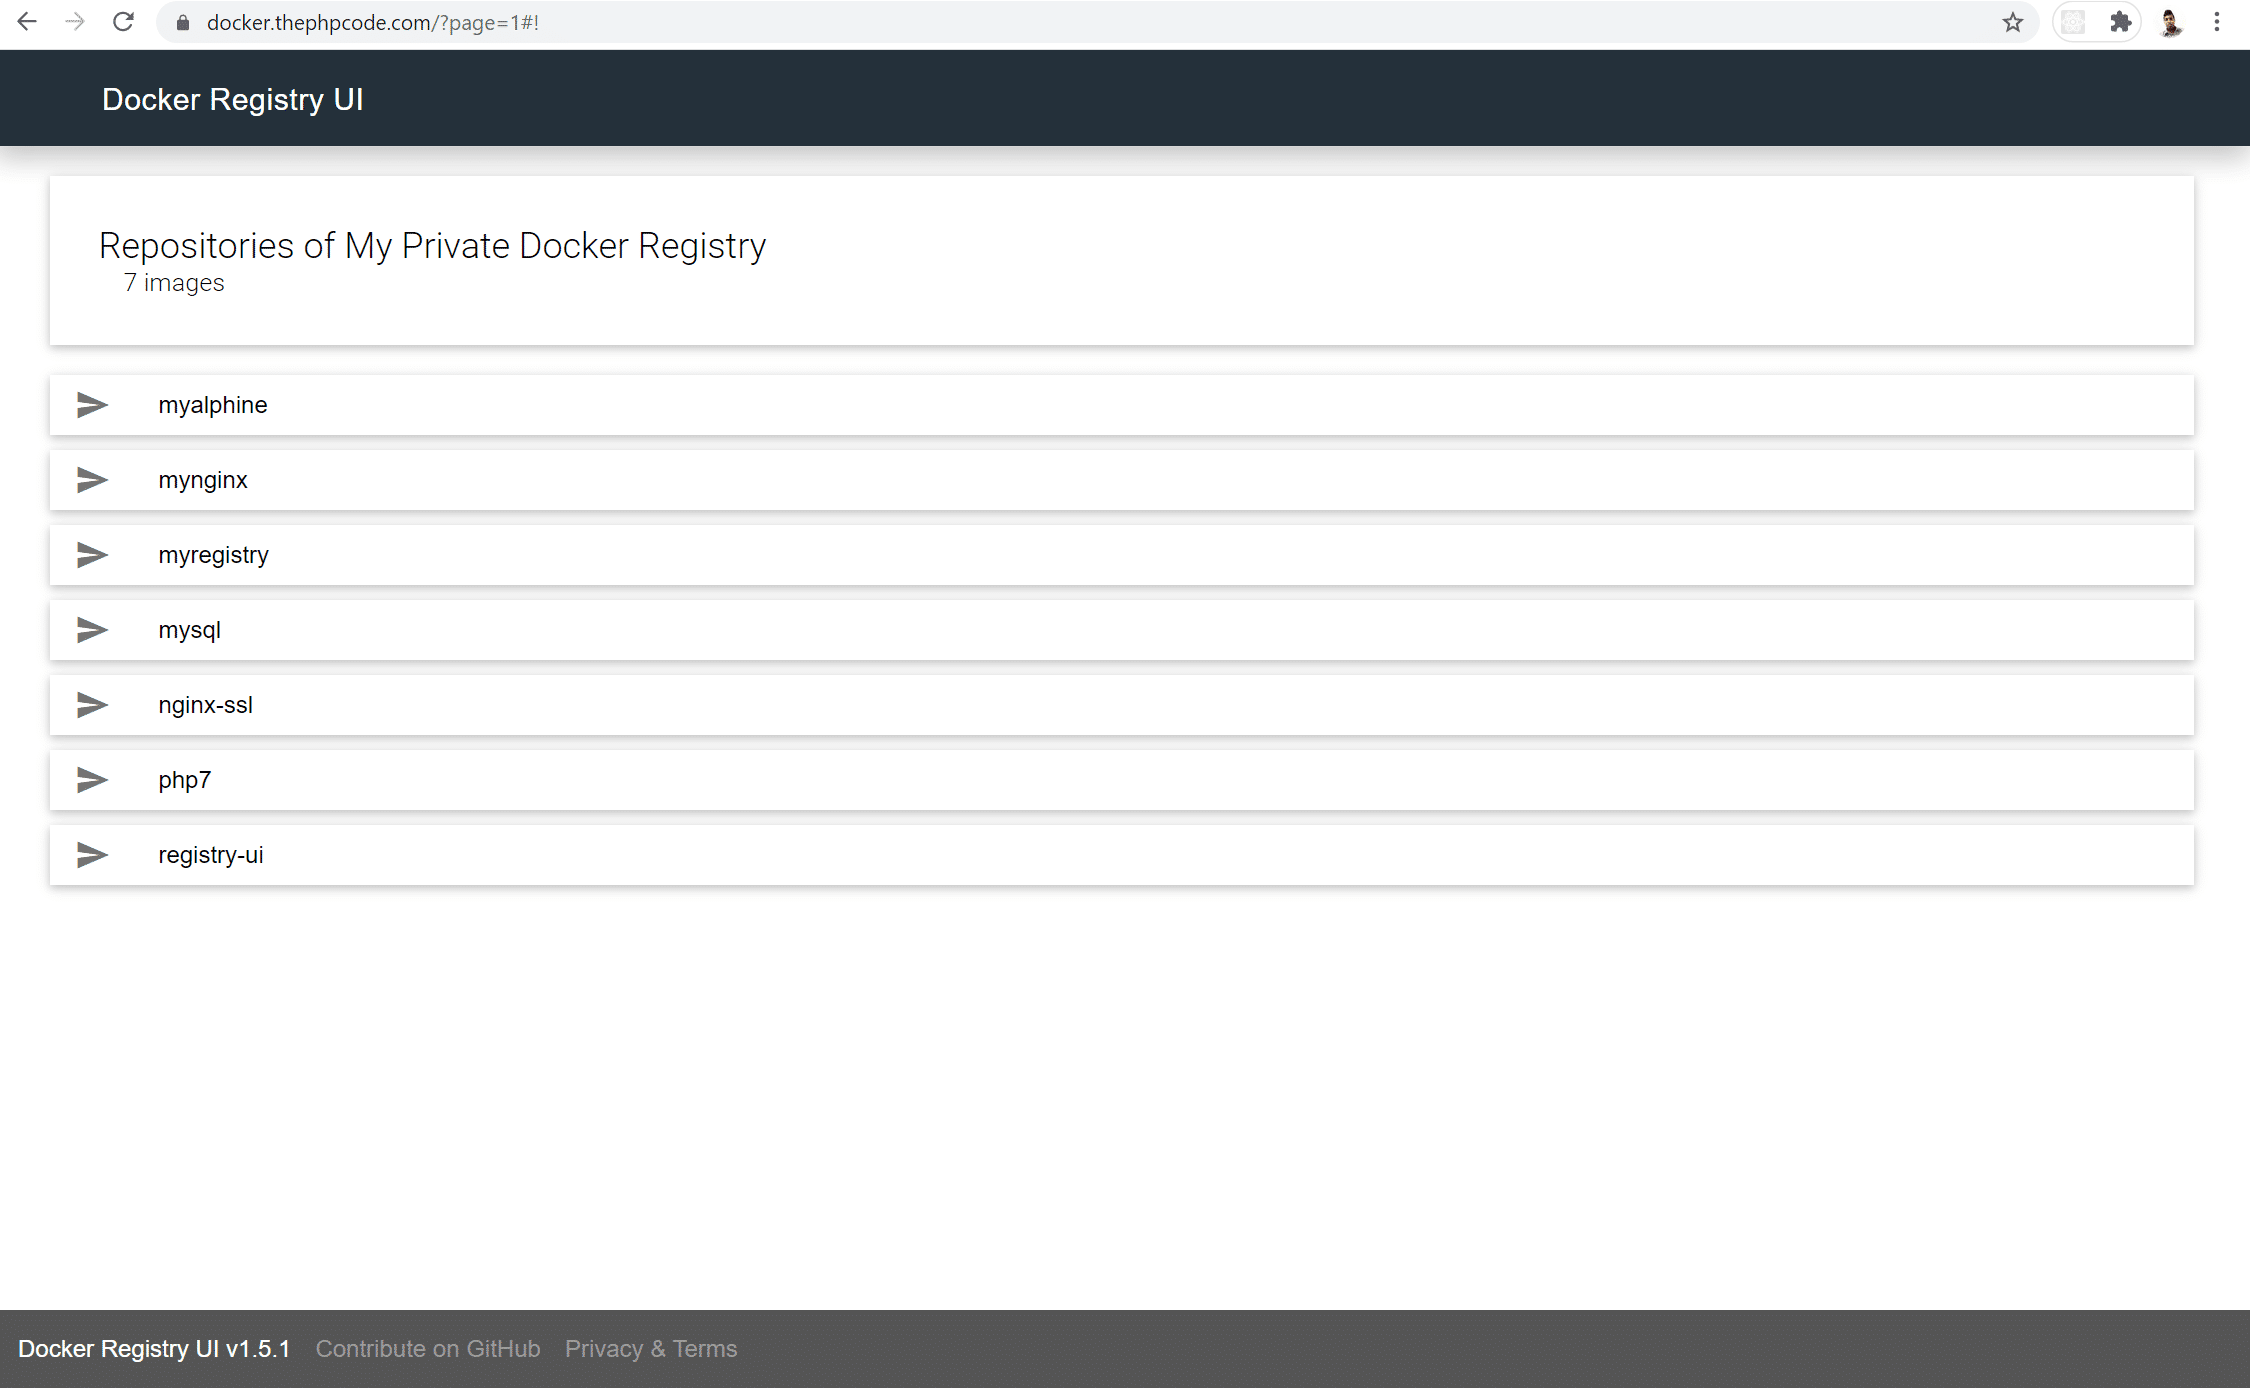
Also it will be nice to have a UI setup with the docker registry so that you can have a overview of all your images. I am using docker compose for running the docker stack. Here is my docker-compose.yml file for the setup.
version: '3'

services:
  registry:
    restart: always
    image: registry:2
    environment:
      REGISTRY_AUTH: htpasswd
      REGISTRY_AUTH_HTPASSWD_PATH: /auth/htpasswd
      REGISTRY_AUTH_HTPASSWD_REALM: Registry Realm
      VIRTUAL_PORT: 5000
      VIRTUAL_HOST: docker.thephpcode.com
    networks:
      - registry-ui-net
    volumes:
      - /media/SSD/docker/registry/data:/var/lib/registry
      - /media/SSD/docker/registry/auth:/auth
  ui:
    image: joxit/docker-registry-ui:arm32v7-static
    ports:
      - 5000:80
    environment:
      - REGISTRY_TITLE=Nish Docker Registry
      - REGISTRY_URL=http://registry:5000
    depends_on:
      - registry
    networks:
      - registry-ui-net

networks:
    registry-ui-net:
I am using two images in this setup registry:2 for the docker registry and joxit/docker-registry-ui:arm32v7-static for the docker registry UI. If you exposing your docker registry to the public domain then you may want to setup SSL as well. Since I use a nginx reverse proxy as SSL terminator outside this setup I didn’t have to do the SSL related setup here but if you are directly exposing this to the internet withouth any reverse proxy server you might need to do that. You can ready more about setting up SSL at https://github.com/Joxit/docker-registry-ui.
I am using basic authentication. You will have to create basic authentication file and use it here. Since most of the time it is only me using the registry I went with this light weight docker UI and supports only basic authentication. But if you are looking for full featured docker registry with different level of user access then you can use Portus.
Please let me know in comments if you have any difficulty while setting up your own docker registry.
How can I take the Backup of images saved in the local docker registry?