
If you are a fan of static website builders, you will definitely a fan of Jekyll site builder which is also supported by Github static website hosting. Recently I am in the process of converting one of my WordPress to Jekyll to reduce the load on my home hosting servers and to improve the load time for the users. There are many free themes available to choose from but when do you want to mingle them well with your coorporate branding then you might want to create your own theme.
Here is a quick guide if you are new to Jekyll and trying out your own theme.
As a first step install Jekyll in your computer. You can follow the installation guide at https://jekyllrb.com/docs/installation/ based on your operating system.
Once installed go to a directory where you want to create your theme and run below command.
jekyll new-theme my-themeThis will create a new theme called my-theme and you can choose any name you wish. Go to the directory and you will see the following files have been created inside the directory.
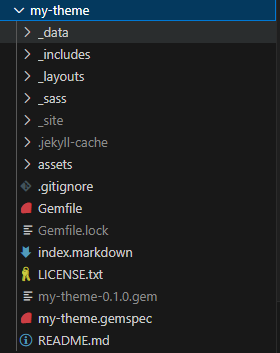
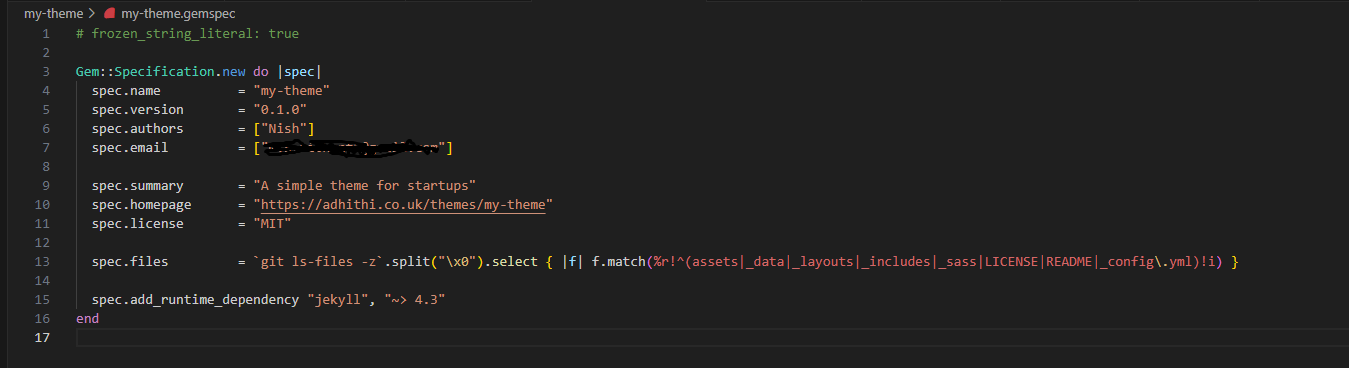
You can open the my-theme.gemspec file and change the spec.authors and spec.summary if you plan to publish the theme to the gem repositories for others to use as shown below. The file name will be *.gemspec and * will be your theme name here.
Once changed you can run following command while you are inside the theme directory.
bundle installNow your gem will be ready to use. Please note that we haven’t made any changes to the layouts or any part of the theme as this guide only focus on the steps to creating and using the theme and not on the theme customization which I will write in another post.
Now we have created the theme, we will try to use it ina Jekyll website. First go out from the theme directory to the parent and create a Jekyll site using below command.
jekyll new my-siteNow a new site will be created for you. You can test your site using below command while you are inside your website directory.
bundle exec jekyll serveAfter executing the command visit http://localhost:4000 and make sure your website is running with the default theme. Now lets use the theme we have build earlier inside the new site. Do the following changes for using the theme.
Open the Gemfile inside the website root directory and add the theme as shown below. You can remove the line for the current theme minima or can leave it as it is.
gem "my-theme",path: "../my-theme"The path refers to the relative path to the theme folder. As we have both website and theme in single directory we are referring like that and you can change if you different relative path.
Now open the _config.yml file inside the website root directory and refer the theme as shown below.
# Build settings
theme: my-theme
After making the changes run the following command.
bundle install
bundle exec jekyll serve
Now if you visit the page http://localhost:4000 the new theme will be effective. You may see an empty page now as you don’t have anything filled inside the index.markdown file. Open the index.markdown file and change the layout to “page” as it is one of the layout available in your theme under the _layouts folder. Also add some content after — end in the page. Now if you refresh your website again you will see the content.
Once you have a working setup you can start building your theme. Hope this guide help you to get start with the Jekyll themes. Happy creating.
Leave a Reply